It all started with this.
It’s the Wavering Ombre Curtain from Anthropologie. I thought they were really awesome, as they should be for $168 per panel. Seriously? To do two windows you’d be looking at almost $700. Who is this even for? What’s the target demo? If I were rich, I would have custom window treatments sewn. Not drop $700 for some flimsy panels from over-hyped, over-priced Anthropologie.
But seeing these gave me the idea to try my own version at home. I didn’t really care about the embellishments on the Anthropologie version, just the bright ombré color scheme. So I bought a few bottles of Rit Dye and spent a rainy afternoon trying my hand at it.
As I was outlining this game plan to my mom over the phone, she added a great idea that saved me a ton of time. Rather than go and buy white fabric, just go buy white cotton flat sheets. Then when it comes time to hem them up, you can cut the sheet in half and only have to hem one edge instead of four. Very wise, Mamasita, very wise.
So I don’t have any pics of this part of the process, but I basically filled a big bin with about 4 gallons of very hot water and mixed in a bottle and a half of Rit liquid dye in Teal. Then I dipped the bottoms of the panels first and gradually let more and more of the fabric fall into the dye bath in an effort to have the bottom much more saturated than the top.
For fear of making a mess, I did this part in the basement. The problem was that we don’t have a sink down there, so I used the washing machine for running water to rinse out the dye. And basically I ended up not rinsing nearly enough of it out. You’re supposed to rinse in cold water until the water runs clear, then launder the fabric as normal. Since it still had tons of dye in it when I washed it out, the whole ombré effect was kind of washed out because the lighter tops got washed with tons more dye.
So this is what I had after dye effort #1:
The bottom was ever so slightly darker than the tops, but I basically had two aqua colored sheets. Not quite was I was going for.
Although this was a failure, it made me realize a key component of the original inspiration that I wasn’t taking into account. I needed a second color. The effect I wanted was never going to be produced from the teal dye alone.
So the next weekend it was back to Hobby Lobby for a another bottle of liquid Rit, this time in Navy Blue.
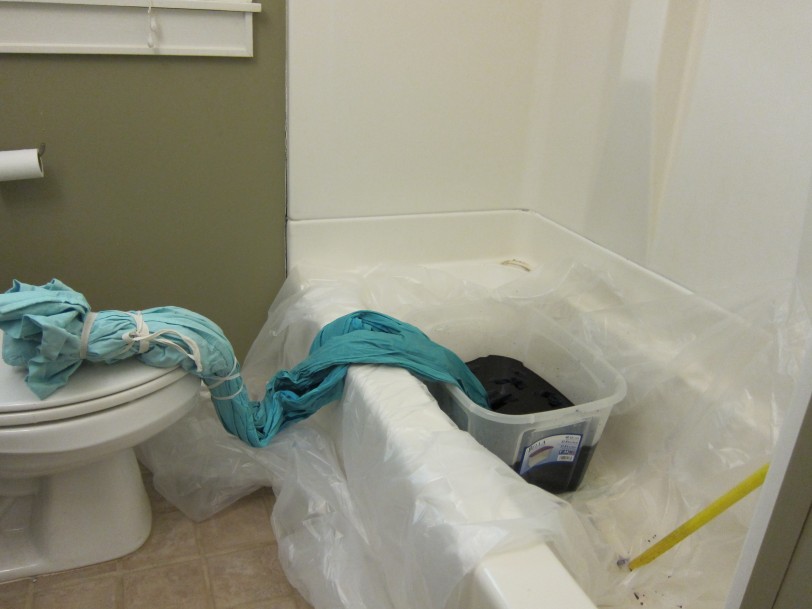
I did round 2 in the bathroom for easy access to plentiful running water. For fear of navy blue splatters all over the place, I tried to cover as much as I could with a plastic drop cloth. Also this time to create a more even horizontal line, I bound both sheets together, so all 4 panels would have basically the same proportions of blue and teal.
I used the shower rod to hold up the top and let the dye flow down towards the bottom. Pro tip: don’t underestimate the weight of two soaking wet bed sheets. That shit is heavy.
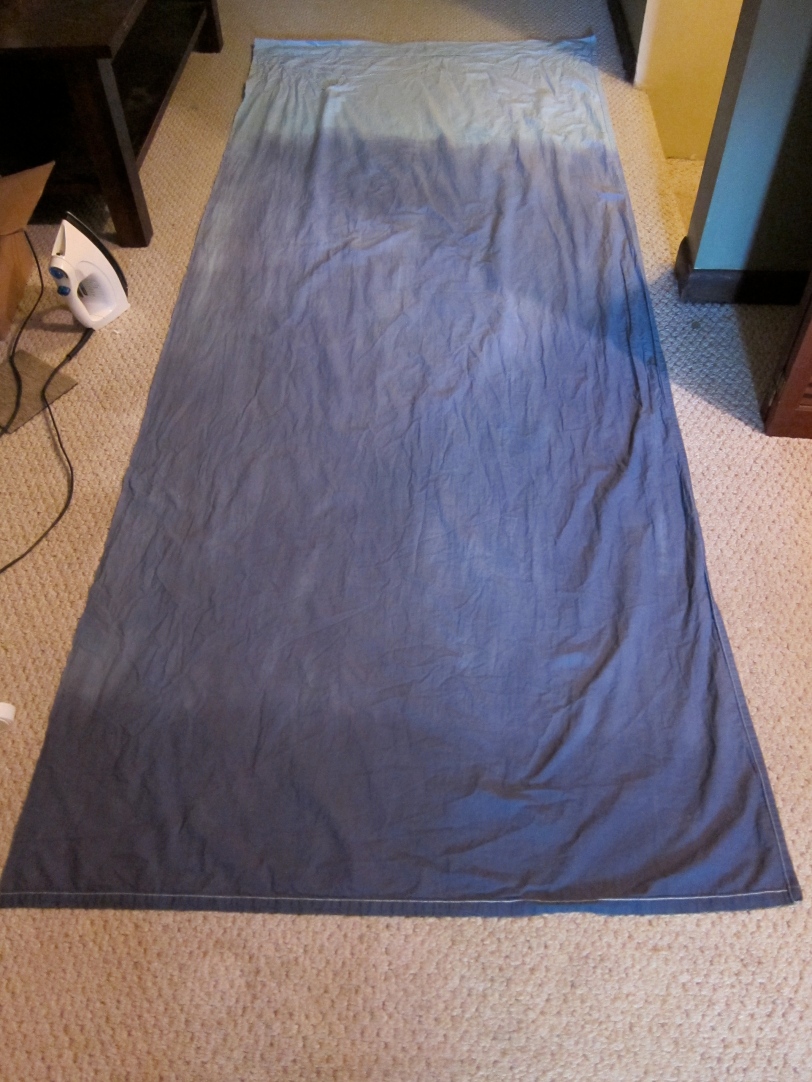
After rinsing it out FOREVER, carefully making sure not to get dye on the upper portions, the water finally started to run clear and they were ready to get washed up. And when they came out of the dryer, ta-da! Much closer to what I had intended.
Now to turn two flat sheets into four curtain panels…
I laid each one out on the carpet upstairs, folded them in half long-ways and cut down the fold.
From here I just used the no-sew Heat ‘n Bond tape to finish the one raw edge. It’s the same process I used on the dining room curtains back in the day.
For the tops, I used the existing wide hem on the sheets to form a rod pocket. Just a little slit on the back layer of the hem, and you can slide a rod right through.
I had to buy one new curtain rod, but was able to re-purpose the smaller one from another room. I’m trying to keep the black curtain rods standard throughout the house, gradually replacing the ones left here by the previous owner.
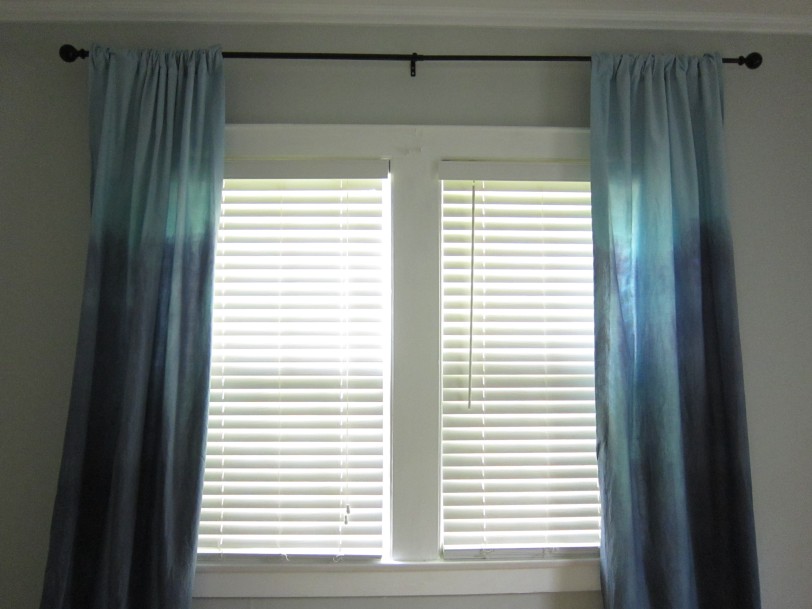
I’m digging them.
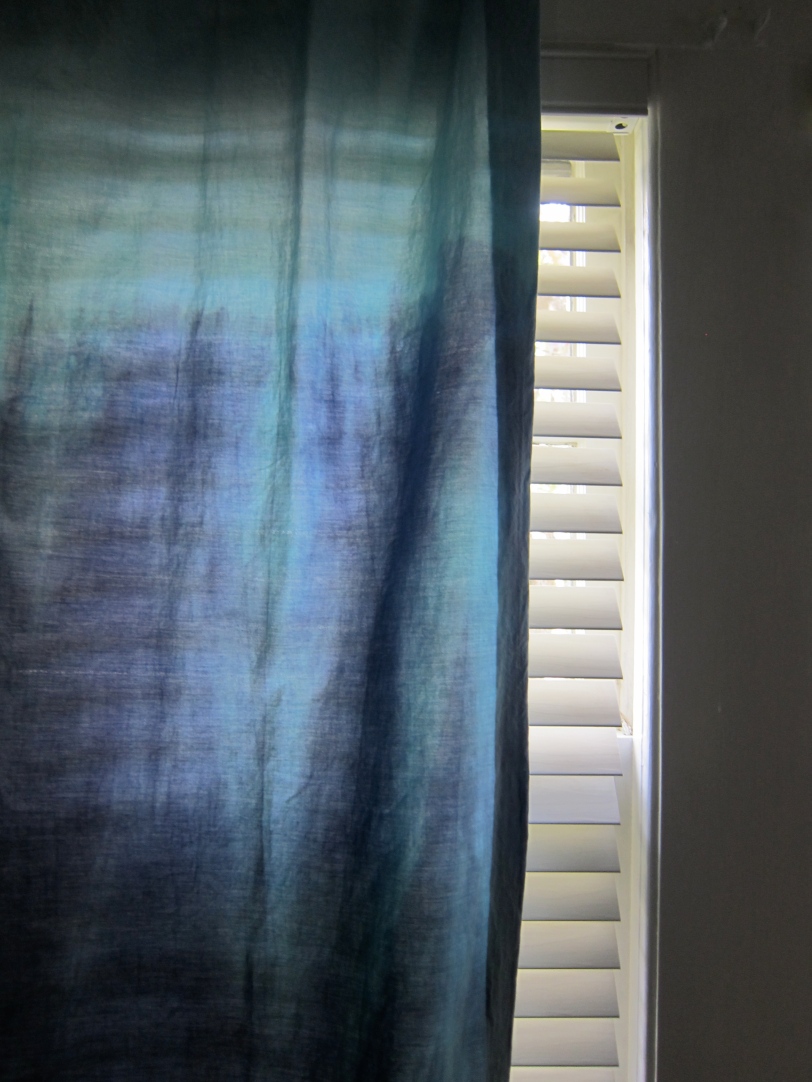
Not exactly the same as the $168 version, but good enough for me. I’m keen on the way the colors come out. If I’ve learned anything about fabric dying it’s that you’ll have no idea what the colors look like until they’re dry. So there is a lot of guesswork involved. I’m sure there are others more patient than I am, who would do a test swatch to time out how long it should be in the dye to achieve your desired result. I’m not that kinda girl.
There is a lot of variation in the mid-section of each panel. Being bundled together during round two created vertical lines throughout the less saturated part. I like it.
I think they would look killer with some magenta sheets on the bed. Anyone? Magenta sheets? I’m thinking THESE!


Nice! Reminds me of this tablecloth: http://ohhappyday.com/2011/04/diy-ombre-tablecloth/
Seriously, though… who would pay that for curtains?
The end result of all of your hard work is not far off from your original inspiration. It was was worth your effort with the dyes and mess it created. You did not have to spend $700 for window treatments.
somehow i fell super behind on your blog! But i’ve caught up now! House is looking great, especially those curtains!!
Great job!
I always giggle at RIT dye because of my good friend, Rit.
Pingback: New York and New Sheets « escape from brooklyn
Pingback: Clinch River Fall Antique Festival « escape from brooklyn
These are awesome! Nice work.
Pingback: Downstairs Bedroom Updates « escape from brooklyn
Pingback: Bedroom Updates | escape from brooklyn
hi, one cool thing i did was put a pressure bar in the tub. I then hung it over it while i pulled it out of the dye. It came in handy.
Just found you via pinterest. Love these! Dying some Ikea curtains for my kids’ bathroom. Thankfully I have an old beat up clawfoot tub outside to use, so I’m hoping that will make the process a bit easier. Thanks for the inspo!
you and i had the same idea for curtains. i just used a teal fabric dye and cheap white curtains and did the ombre in my kitchen sink. maybe i should go back and use a navy blue for the bottom because the effect is hard to see. great job on the curtains.